Pascal’s Law states that pressure spreads evenly in a closed space filled with fluid like soda gushing from a shaken can when opened. This principle powers hydraulic systems, including your car’s brakes.
Yet, Boyle’s Law explains that increasing pressure on air compresses it and reduces the space it occupies. For example, squeezing a balloon makes it shrink.
Bleeding brakes is a critical maintenance task that removes trapped air from your car’s hydraulic brake system. Air can compromise the effectiveness of your brakes and jeopardize your safety. So, bleed your brakes—not to cause harm, but to keep your car stopping safely every time you hit the pedal.
What Does It Mean to Bleed Brakes?
Bleeding brakes removes air bubbles and contaminants from your car’s brake system by flushing out old brake fluid and replacing it with fresh fluid. This is important because air in the brake lines can make it harder to stop your vehicle when needed.
Understanding how hydraulic brake systems operate is vital to grasp why you need to bleed brakes. When you press the brake pedal, the master cylinder pumps hydraulic fluid through the brake lines, applying pressure to the brake calipers.
These calipers squeeze brake pads against a spinning metal disc called the rotor and create friction that slows your car down. Since hydraulic fluid doesn’t compress, the pressure from the pedal travels directly to the calipers for reliable braking.
How Air Impacts Braking Performance
That’s how hydraulic brake systems should work, but when air sneaks in, that’s where the trouble begins. Air can enter your hydraulic system in several ways:
- System opening: Air can seep in whenever the brake system is opened during repairs or part replacements.
- Worn pads: Excessive wear on brake pads can lower brake fluid levels and allow air to enter.
- Leaks: Corroded brake lines and faulty calipers can create leaks that let air in.
- Heat and moisture: Aggressive braking can boil brake fluid. This turns moisture into vapor that behaves like air in the lines.
When air enters the brake system, it compresses easily, unlike brake fluid. This compression reduces the force transferred to the calipers and can lead to weaker braking power.
Why Do You Need to Bleed Brakes?
Earlier, we discussed how air in brake lines affects braking. But how serious is this issue?
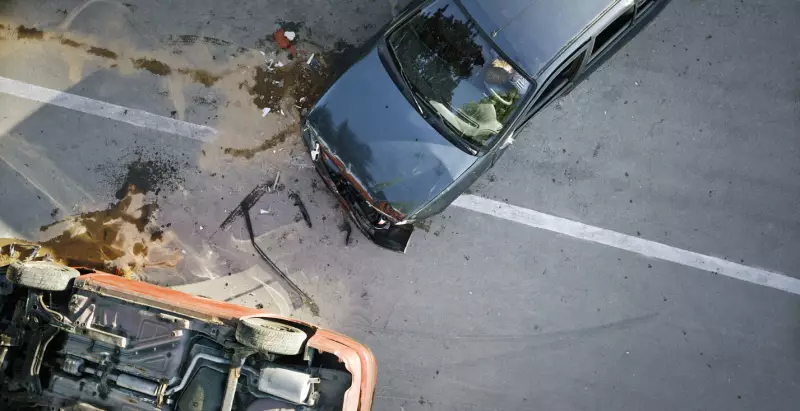
When air gets in, your brakes can feel spongy, meaning the brake pedal feels soft and unresponsive. This makes it harder to stop your car and reduces your control over the vehicle. Air bubbles lower hydraulic pressure, thereby weakening your brakes and increasing the risk of accidents.
The New York State Association of Chiefs of Police (NYSACOP) provided survey data from the National Highway Traffic Safety Administration (NHTSA). The data reveal that 22% of U.S. car accidents result from faulty or unchecked brakes.
Regular brake bleeding is essential for maintaining smooth braking and keeping you and your vehicle safe on the road.
How To Bleed Brakes?
Brake bleeding isn't as complicated as it might seem. While expert mechanics often handle it, you can easily perform Do-It-Yourself (DIY) brake bleeding with the right tools and a little guidance.
Here are all the essential tools and steps you need:
- Brake fluid
- Wrench
- Clear tubing
- Catch container
- Brake bleeder kit or vacuum pump
Step 1: Prepare the Vehicle
Before bleeding brakes, make sure the car is parked on flat, stable ground, with the engine off and the parking brake engaged. Once everything is secure, follow these steps to proceed:
- Lift the vehicle with a jack.
- Place four jack stands at the recommended points in your manual.
- Use a tire iron to loosen the lug nuts.
- Remove the tires and wheels to expose the brake calipers or drums fully.
Step 2: Locate the Bleeder Screws
Locate each caliper bleeder screw, typically found at the bottom of the brake caliper for disc brakes or on the rear backing plate for drum brakes. Here’s what to do next:
- Loosen the screw carefully using a box wrench.
- If it’s stuck, apply penetrating oil and wait 30 minutes.
- Keep the other screws closed while bleeding brakes to prevent air from entering.
Step 3: Start the Bleeding Process
To start the brake bleeding process, begin with the brake farthest from the master cylinder, usually the rear passenger side. This prevents air from getting back into the system.
- Connect a ¼-inch clear plastic tube to the bleeder screw.
- Place the other end in a bottle with clean brake fluid.
Next, do these with a helper:
- Have them pump the brake pedal several times and hold it down.
- While the pedal is pressed, use a wrench to open the bleeder valve. Air and old brake fluid will flow into the bottle.
- When the pedal is near the floor, your helper should notify you.
- Close the bleeder valve.
- Let them release the pedal.
Step 4: Repeat Until Air-Free
Repeat the previous step for bleeding brakes with your helper at least five times at the same wheel. Continue until the fluid in the tubing runs clear and free of air bubbles.
Step 5: Refill the Brake Fluid Reservoir
After bleeding each brake, always check the fluid level to prevent running the reservoir dry. To go about this:
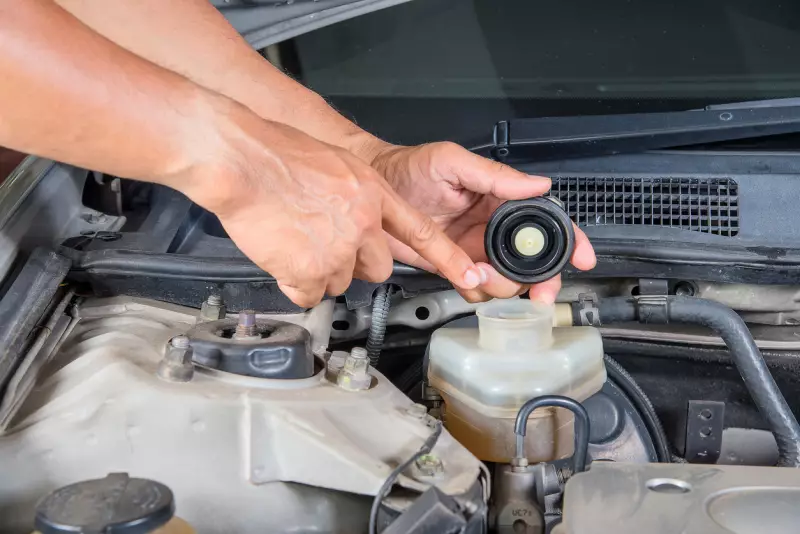
- Lift the hood and locate the brake fluid reservoir.
- Open the master cylinder cap and top it off with the recommended brake fluid if it’s below the max line.
- Keep the cap loosely in place to avoid air bubbles entering the system.
Step 6: Complete the Process on All Wheels
Finally, repeat brake bleeding steps 3 through 5 for each of the remaining wheels. Continue with the second farthest wheel from the master cylinder, then work your way to the next closest one.
What Is the Correct Order To Bleed Brakes?
When you bleed brakes, the general rule is to start with the wheel farthest from the master cylinder and move to the closest. The typical sequence is the passenger rear wheel first, followed by the driver rear, then the passenger front, and finally the driver front.
If you bleed brakes starting with the closest wheel, air near the master cylinder could travel into other branches of the hydraulic system. This would leave air bubbles in areas you’ve already worked on, meaning you’d have to redo those wheels.
Beginning with the farthest wheel ensures that air bubbles are pushed out properly. As you move closer to the master cylinder, fewer branches need to be bled. This reduces the chance of air entering the system.
Common Mistakes When Bleeding Brakes
Bleeding brakes at home can save you money, but it’s easy to fall into mistakes that could lead to problems later on. If you’re ready to tackle this task, knowing what to avoid can make a big difference.
Not Refilling the Brake Fluid Reservoir
Starting with a low or empty brake fluid reservoir can introduce air into the system and result in spongy brakes. This soft pedal response makes stopping your vehicle more difficult.
Always fill the reservoir with the correct brake fluid before beginning and check it regularly during the process to keep performance optimal.
Improper Tightening of Bleeder Screws
Be cautious not to overtighten the bleeder valve. Cranking it too hard can damage the threads, cause leaks, and put your safety at risk.
Use a wrench designed for brake bleeding and apply the right amount of pressure to avoid this problem.
Using the Wrong or Old Brake Fluid
Using outdated or contaminated brake fluid can significantly impact performance. Brake fluid absorbs moisture, which can degrade its effectiveness. Always opt for fresh fluid and keep the container sealed until you’re ready to use it to avoid contamination.
Incorrect Bleeding Order
When bleeding brakes, follow the sequence outlined in your vehicle’s manual. Start with the wheel farthest from the master cylinder and work your way closer. Skipping this step may leave air in the lines and compromise braking efficiency.
Skipping the Test Drive
Many people forget to test the brakes after bleeding brakes, but this step is critical. A quick test drive ensures everything is functioning properly before hitting the road.
Not Using Clear Tubing
Opaque tubing makes it hard to see air bubbles in the brake fluid. Clear tubing allows for better visibility and helps you ensure that all air is removed.
You can’t defy the laws of Physics, such as Pascal’s Law and Boyle’s Law, which dictate how fluid and air behave and interact in your brake system. However, understanding these principles allows you to make them work in your favor.
One effective way to do this is by properly bleeding your brakes. With the right tools, high-quality brake fluid, and careful attention to each step, you can achieve a seamless DIY brake bleed. Don’t forget to wear gloves and safety glasses, as brake fluid can irritate the skin and potentially damage any painted surfaces it comes into contact with.
Stay focused, prioritize safety, and may the force of a flawlessly bled brake system be with you!


